
Case study · Internal wall insulation
A cold 1930s bedroom, made comfortable.
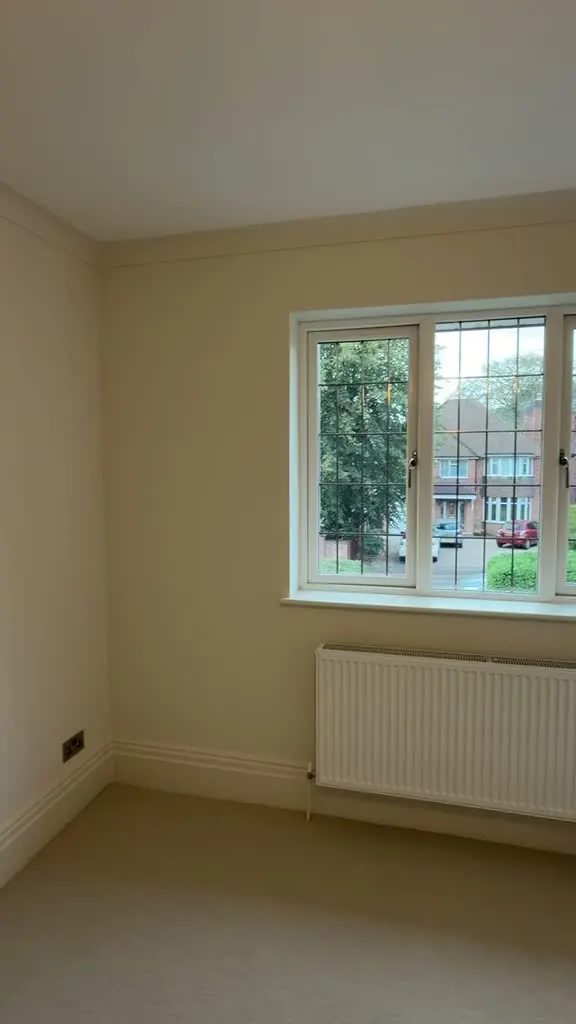
The bedroom took ages to warm up and lost its heat as soon as the radiator went off. After a retrofit assessment and moisture modelling, I insulated two solid brick walls with wood fibre and lime, and the homeowner now has a room that warms up quicker and stays warm longer.
On this page 9 sections
Does internal wall insulation make a cold 1930s bedroom warmer?
In this bedroom it did. The 225mm solid brick walls were insulated with 40mm and 25mm of wood fibre and finished in lime plaster. Estimated heat loss through those walls fell by about 71% and 60%, the calculated wall surface temperature on a freezing day rose from about 14.5°C to 18.4°C, and the room now warms faster.
What was wrong with the bedroom?
It was simply never comfortable. The room took a long time to warm up, lost its warmth quickly once the heating went off, and still felt cold despite the money being spent on heating it.
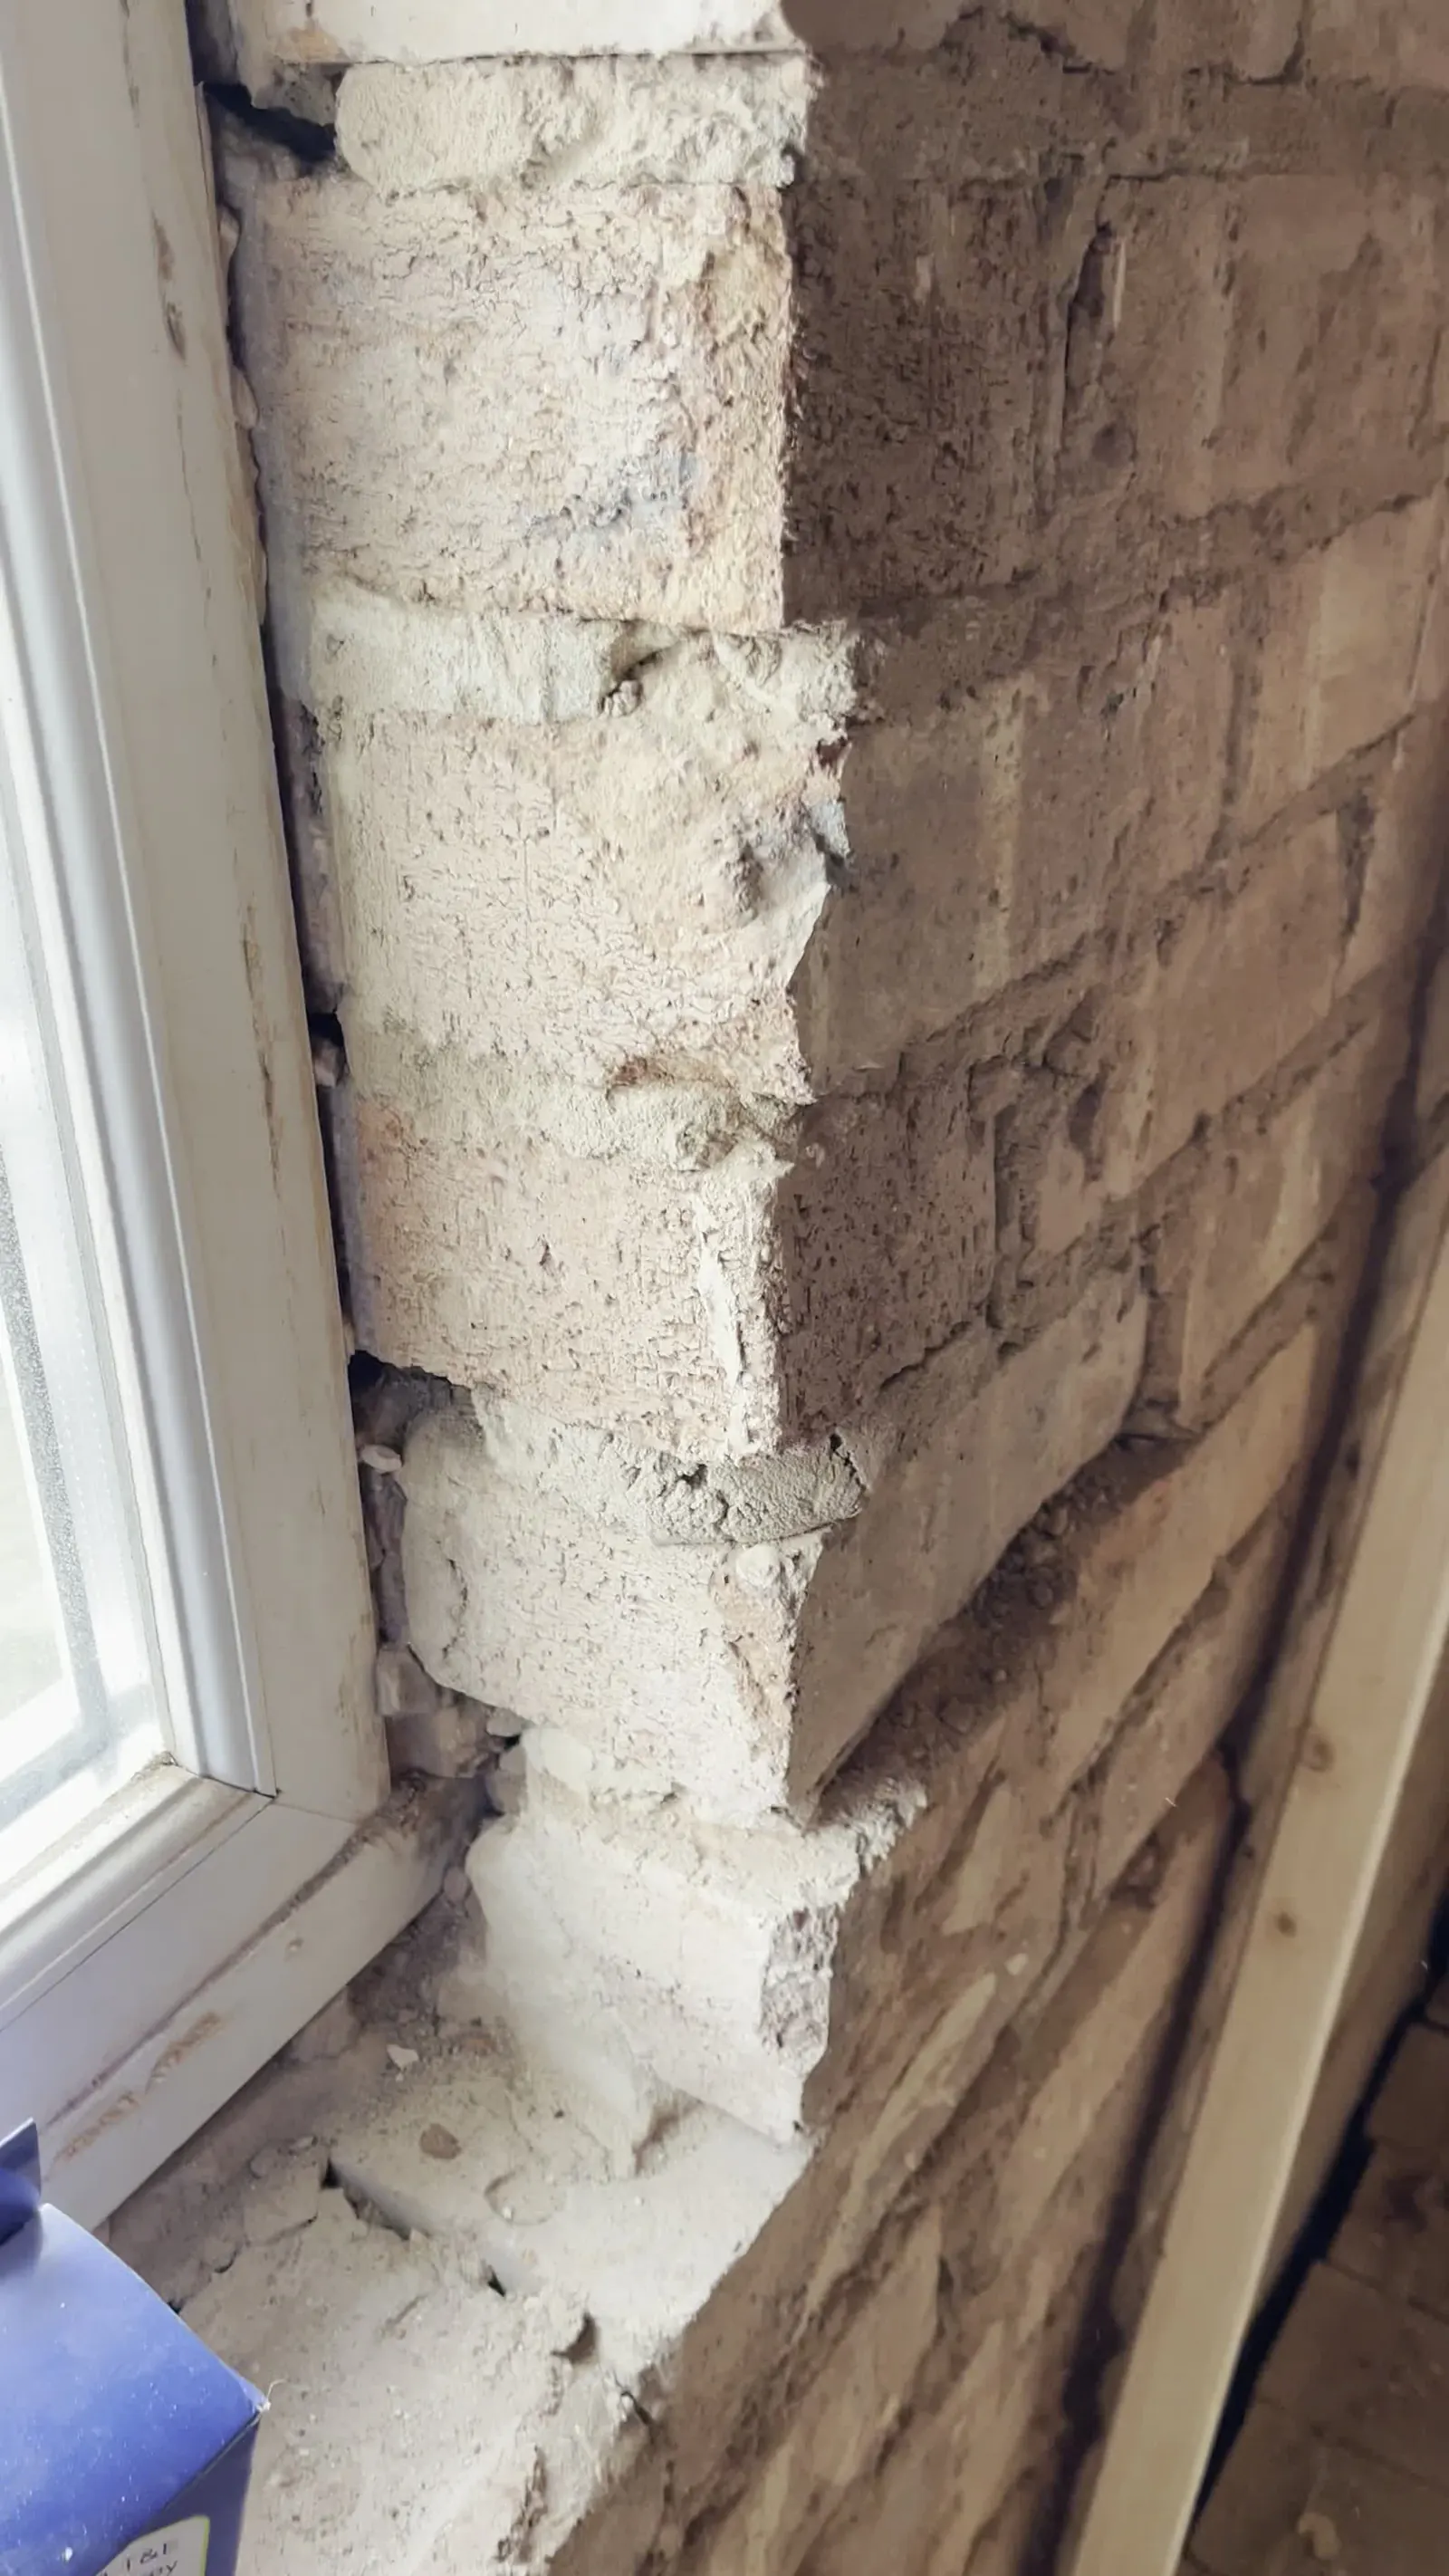
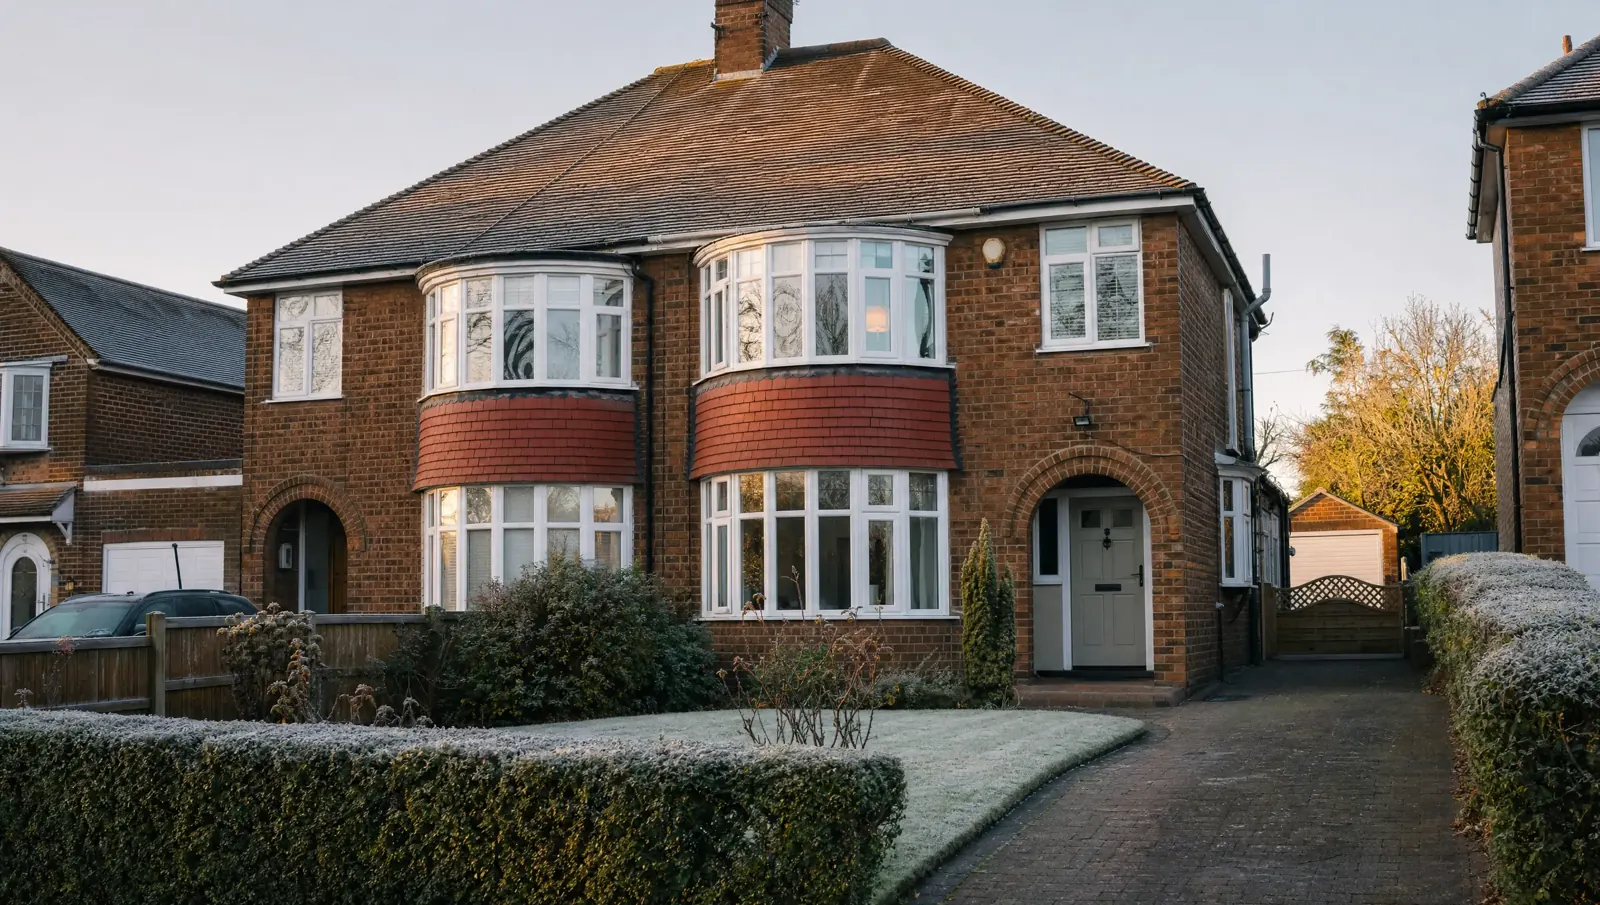
The house is a 1930s property with 225mm (9 inch) solid brick external walls, unrendered on the outside, and no wall insulation of any kind. The homeowner wanted a warmer bedroom, but did not want the room's character or layout spoiled to get it. That brief shaped every decision that followed.
What did the assessment find?
Before recommending anything, I carried out a retrofit assessment of the room's construction, condition, thermal performance and ventilation.
- 225mm solid brick external walls, unrendered outside.
- No reported history or visible signs of damp.
- Existing gypsum plaster on the inside.
- Uninsulated walls, contributing to heat loss and cold internal surfaces.
- Ventilation that needed improving.
The walls had an estimated U-value of about 2.10 W/m²K. A U-value describes how easily heat passes through a wall; the lower the number, the better. At 2.10, heat was moving through freely, which explained why the room never held its warmth.
The absence of damp mattered. It meant there was no leak or defect to repair first, and the design could focus on insulation and ventilation.
How was the insulation designed around the room?
Moisture modelling decided the system and the thickness. I looked at how the new wall build-up would handle heat and water vapour through the seasons, alongside the practical limits of the room.
I chose a vapour-open (breathable) system: wood fibre insulation boards, a lime-based adhesive and lime plaster, all compatible with each other. That keeps the brickwork able to dry out, which is the approach government guidance generally favours for traditional solid walls.
| Wall | Insulation | Why |
|---|---|---|
| Main external wall | 40mm wood fibre | The biggest cold surface in the room, with space for a thicker board |
| Adjoining external wall | 25mm wood fibre | Next to the en-suite doorway; a thicker board would have meant altering the opening |
Adapting the thickness wall by wall meant the room got a real improvement without moving a doorway or adding unnecessary disruption. This is the kind of decision that only comes from looking at the actual room.
How was the work carried out?
In a careful sequence, with the details that end up hidden given as much attention as the finish.
- Removed the existing gypsum plaster from the walls being insulated, exposing the brick so it could be inspected and prepared.
- Carefully took off the original decorative skirting boards so they could be reinstated.
- Removed the radiator.
- Prepared the masonry.
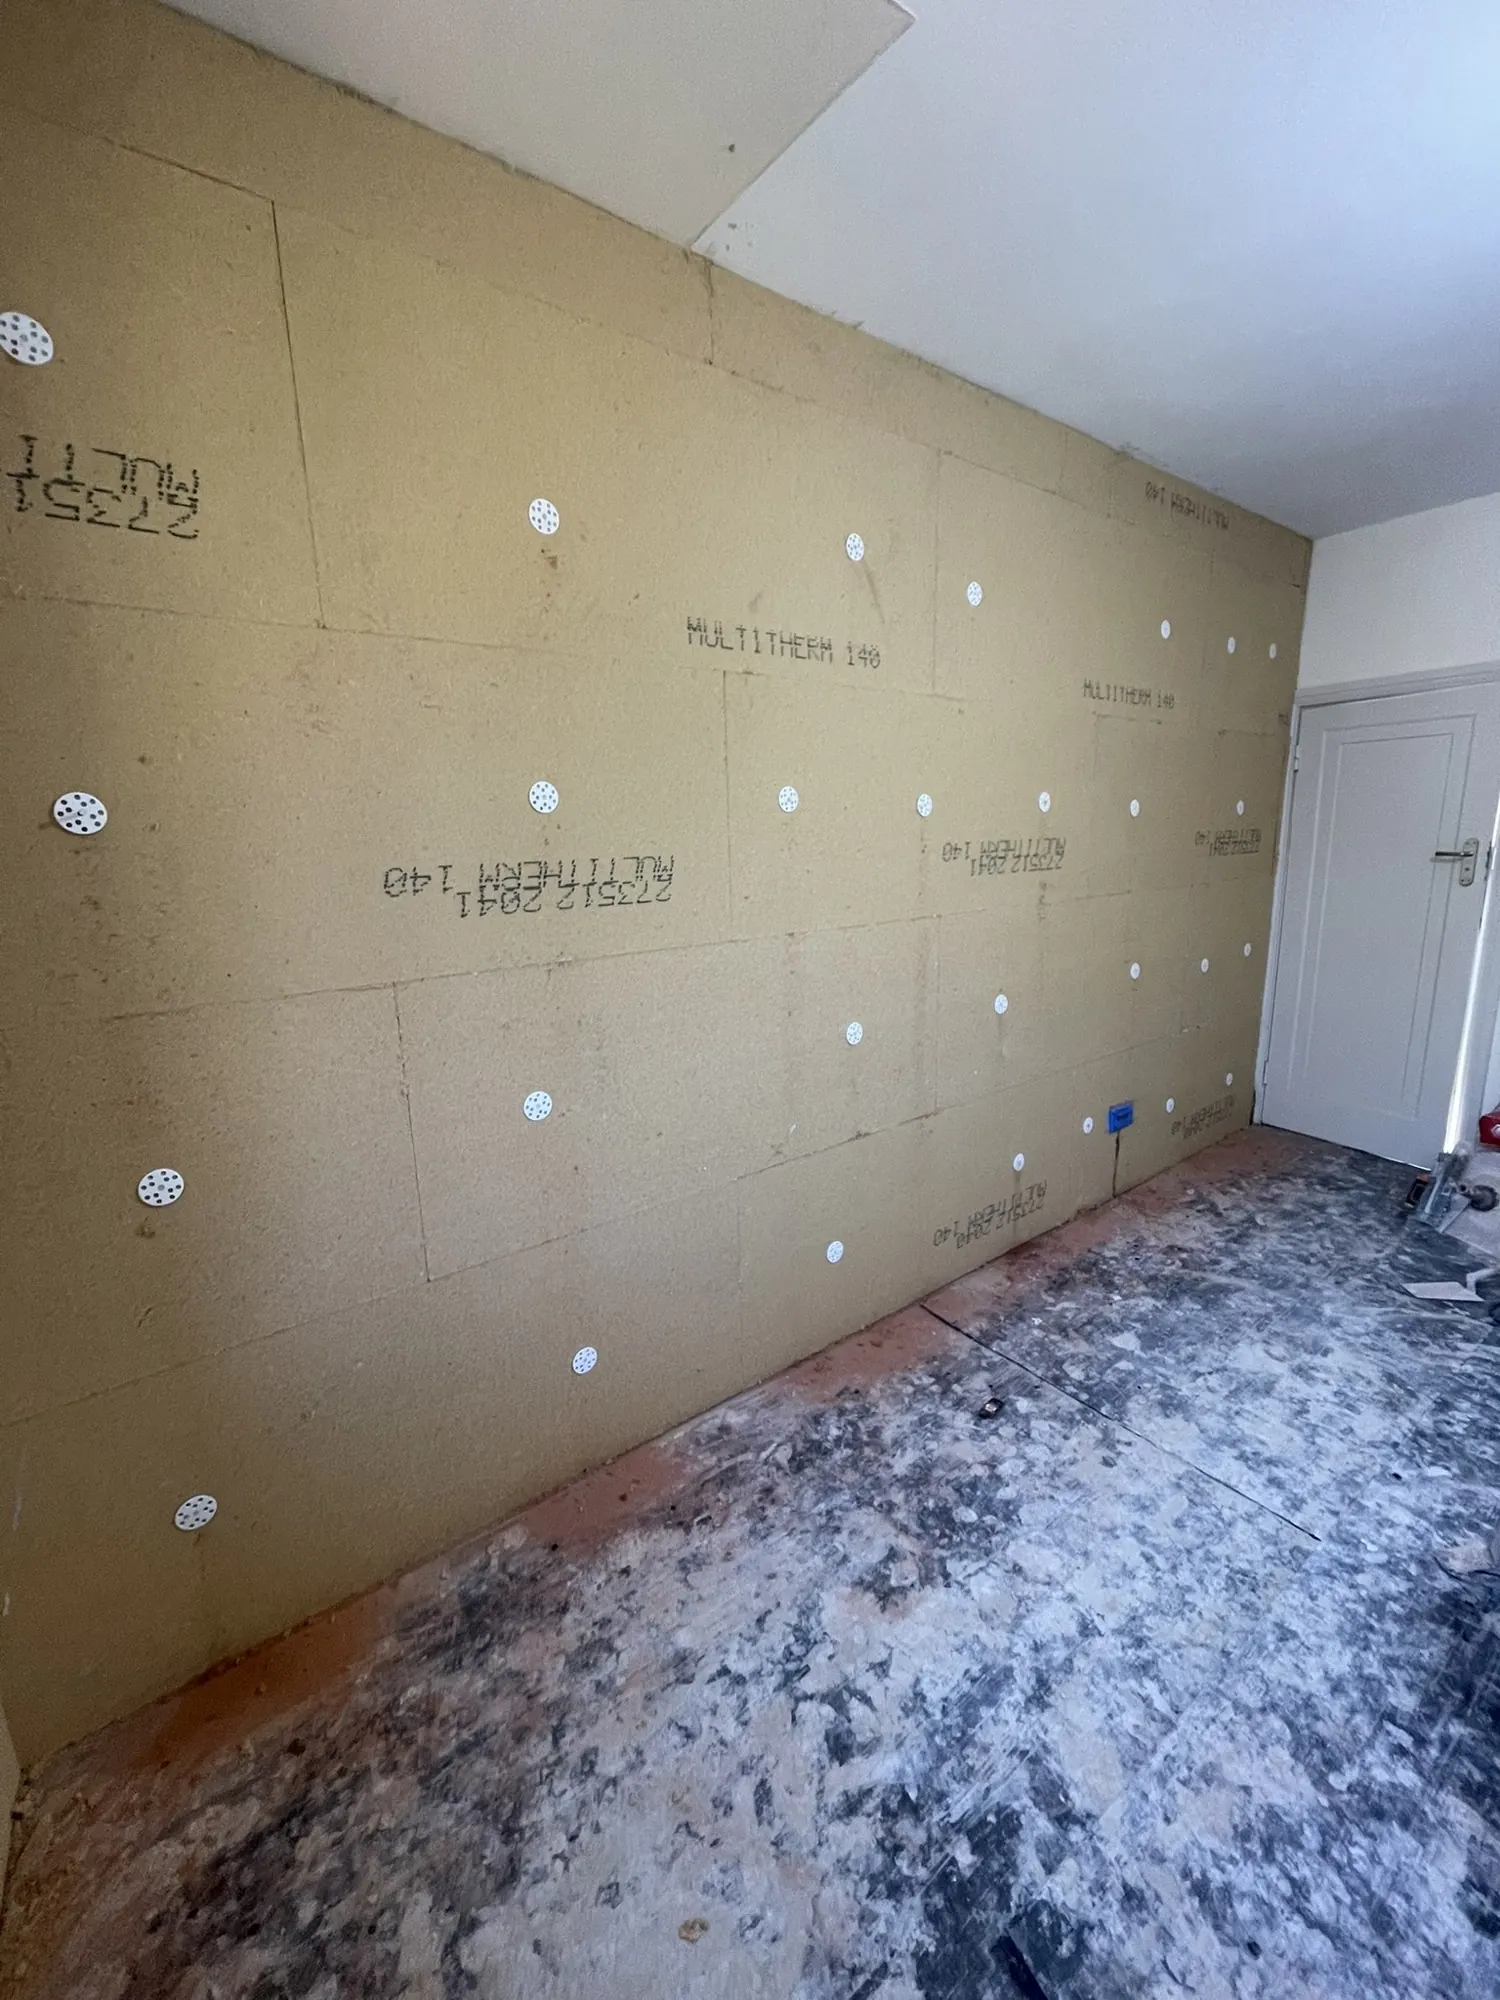
- Fixed the wood fibre boards with lime-based adhesive, plus additional mechanical fixings.
- Insulated the window reveals and detailed the junctions to reduce thermal bridging.
- Treated board joints, edges and service penetrations.
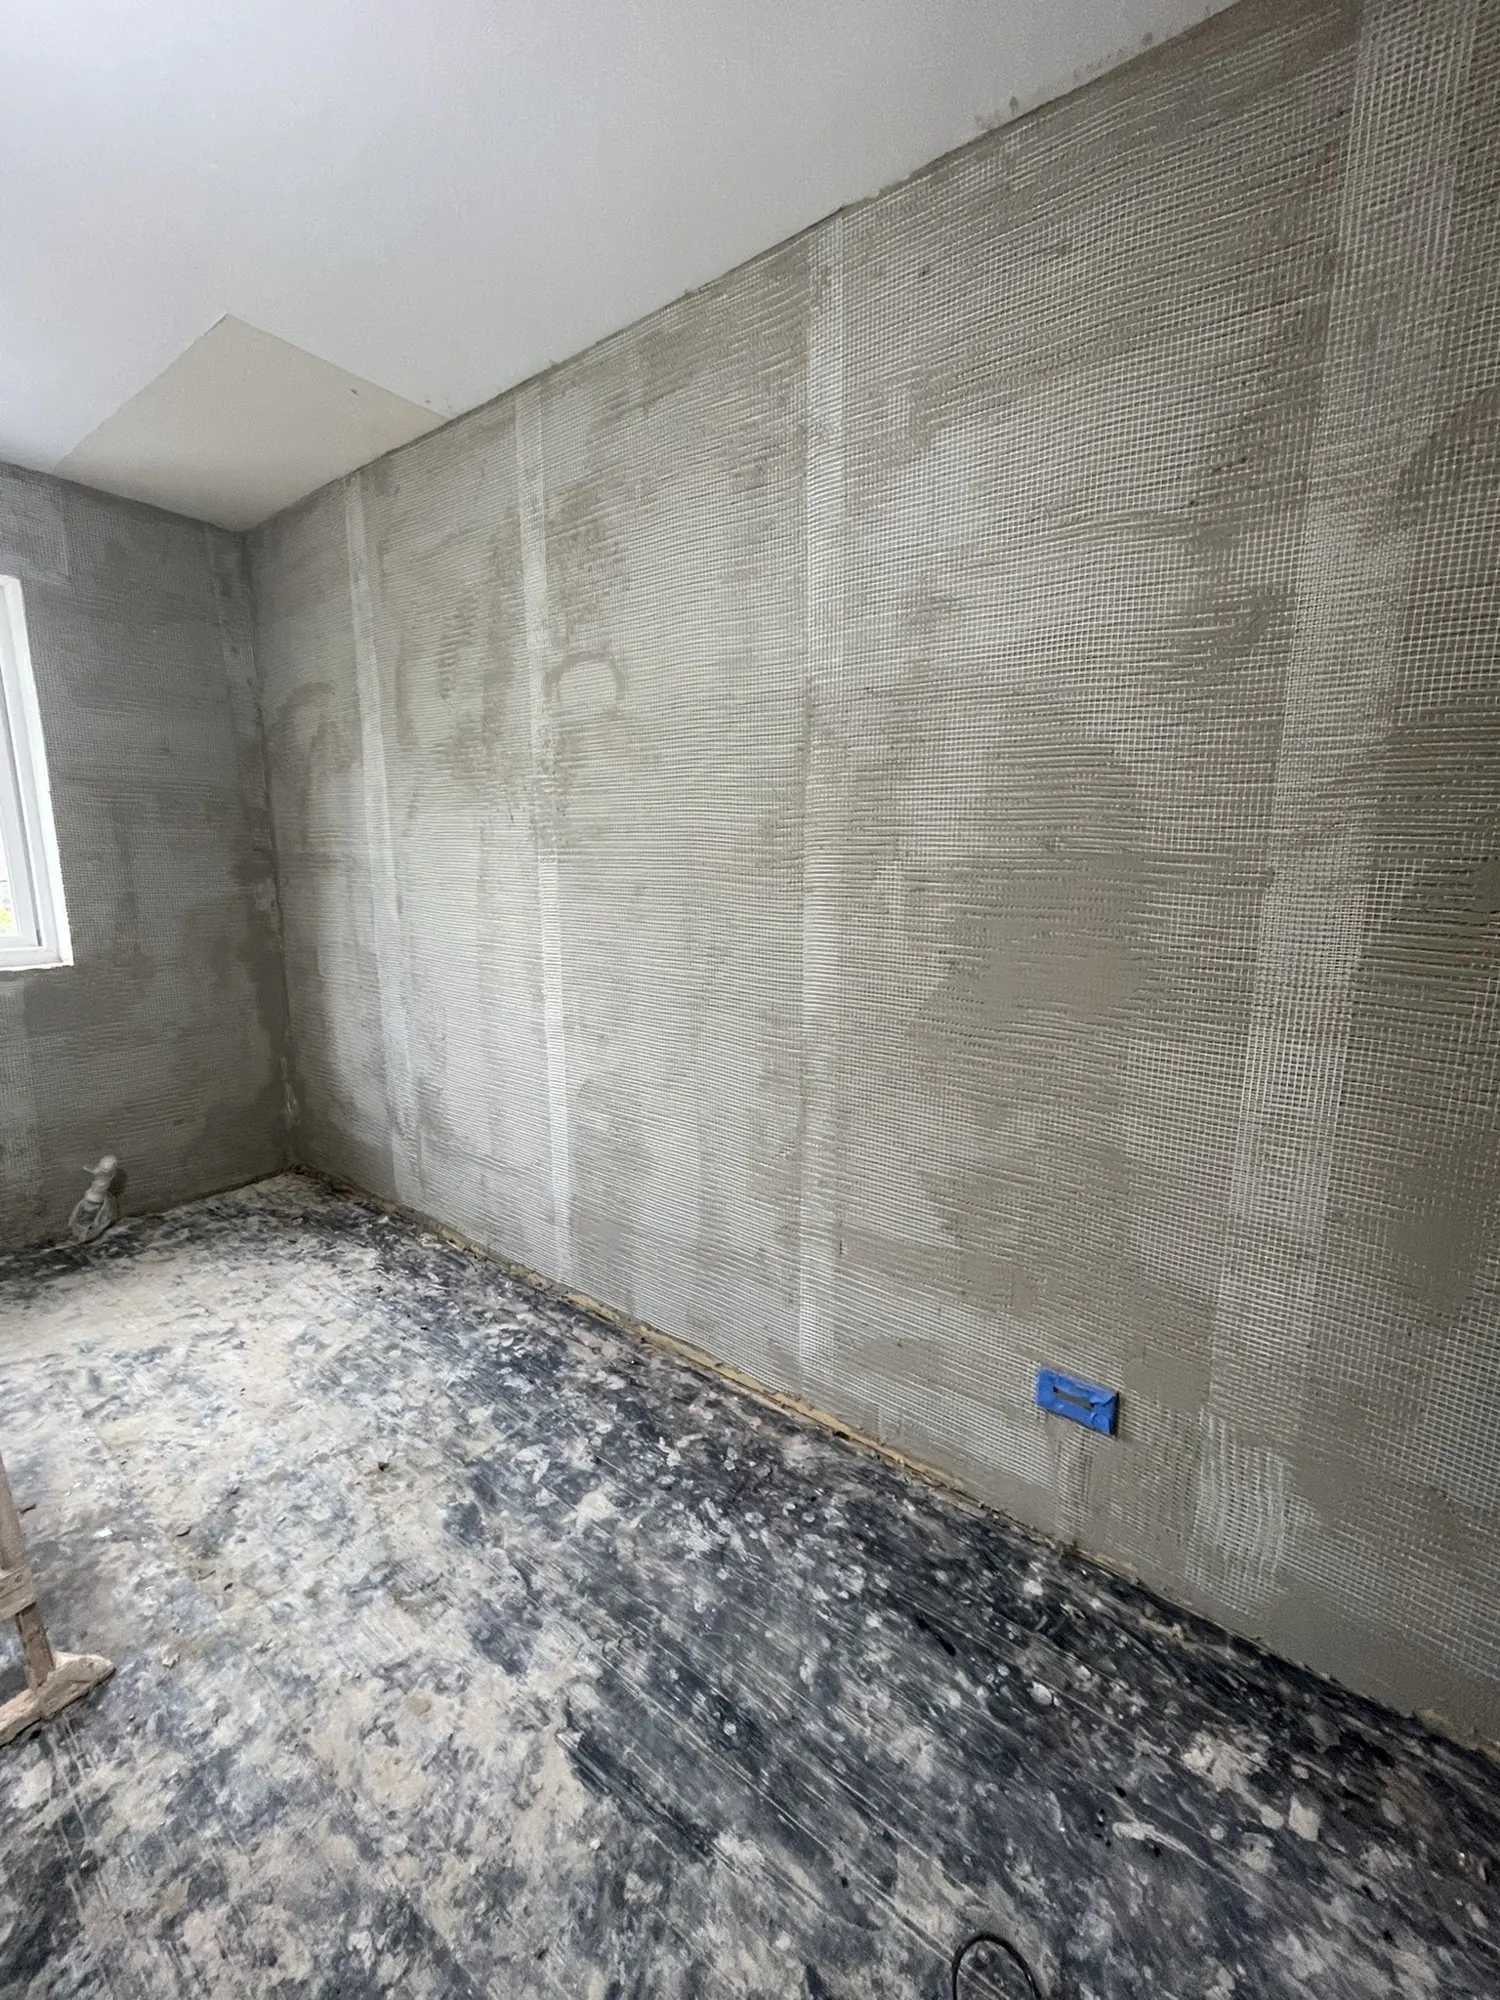
- Applied a reinforced lime base coat with alkali-resistant fibreglass mesh.
- Finished with a compatible lime plaster.
- Fitted a larger radiator as part of the room improvements and reinstated the original skirting.
The junctions, where the insulation meets windows, floors and other walls, are where cold spots survive if the work is rushed. Keeping the insulation continuous around them is a big part of why the room feels evenly warm now.
What was recommended for ventilation?
The assessment showed the ventilation needed improving, so I recommended:
- Suitable trickle vents for background ventilation.
- Air-transfer gaps under internal doors, around 10mm above the finished floor covering.
- An extractor fan in the en-suite to remove moisture at source.
These were recommendations made as part of the project, separate from the insulation work itself. Insulation and ventilation do different jobs: one reduces heat loss, the other removes moisture and stale air. A breathable wall does not replace the need for good ventilation.
What difference did it make?
A clear one, on paper and in how the room feels. Here are the estimated figures for the treated walls:
| Treated wall | Insulation | Estimated reduction in wall heat loss |
|---|---|---|
| Main external wall | 40mm wood fibre | About 71% |
| Adjoining external wall | 25mm wood fibre | About 60% |
I also calculated the inside surface temperature of the wall on a 0°C day with the room at 20°C. Before, it was about 14.5°C. After, about 18.4°C. That warmer surface is why the room feels more comfortable: you lose less heat to the walls around you, and there is less chance of condensation forming on them.
To be honest about what these numbers mean: they describe heat loss through those individual walls under the same conditions. They are not a measured reduction in the household's heating bill. Overall energy use depends on the rest of the house, ventilation, heating controls, the weather and how the room is used.
An honest note on figuresThe percentages and temperatures are calculated estimates for the treated walls, not measured bill savings.
How does the room feel now?
After the insulation and the radiator upgrade, the homeowner reported a noticeable improvement in comfort. The room:
- feels warmer and more comfortable,
- warms up more quickly,
- holds its warmth for longer after the heating is switched off.
The original skirting boards are back in place, the en-suite doorway is unchanged, and the walls have a solid, quiet lime finish. The room looks like itself, just without the chill.

What happens after the work is finished?
The homeowner received an aftercare and maintenance plan covering heating, ventilation and general upkeep, including which paints and finishes to use when redecorating so the breathable system keeps working. As on every job, I also call about four weeks afterwards to check everything is as it should be.
Could this work in my home?
If you have a cold room with solid walls, very possibly, but the design has to fit your house. This project worked because the wall was assessed first and the system, thicknesses and details were chosen for that room, not taken off a shelf.
You can read how I approach internal wall insulation, see what is involved in bay window insulation, or learn about the lime plaster finish used here. Or simply book a free home visit and I will look at your walls.
This case studyWatch a real job
This bedroom, on video.
The same 1930s bedroom from this case study, filmed on the job. No stock footage.
- The finished room, warm and ready to live in
- Smooth walls ready to decorate
- Window reveals and junctions finished properly
Your questions, answered.
Anything else, ring me on 07763 789272. Happy to talk it through.
Get a free quoteHow much did this kind of project cost?
I do not publish individual customers' prices, but as a guide, breathable internal wall insulation like this is typically around £3,000 per wall and takes about 5 days. Every room is different, so you get a fixed written quote after a free home visit.
Why was the old plaster removed?
The gypsum plaster was taken off the walls being insulated so the brick could be inspected and prepared, and so the wood fibre boards could bond properly with a lime-based adhesive. Gypsum is also less compatible with a fully breathable lime system, so removing it kept the whole build-up vapour-open.
Why were two different thicknesses used?
The main wall had room for 40mm of wood fibre. On the adjoining wall, a thicker board would have clashed with the en-suite doorway and meant altering the opening. Using 25mm there still gave an estimated 60% reduction in heat loss through that wall, without moving the door.
Are the figures bill savings?
No. The 71% and 60% figures are estimated reductions in heat loss through the two treated walls, under the same indoor and outdoor temperatures. Your total heating bill depends on the whole house, the heating system, ventilation, the weather and how you live, so I never present wall figures as bill savings.
Was the room out of use for long?
On jobs like this, only the room being worked on is out of use, for the working days plus time for the lime plaster to dry before decorating. Breathable systems like this typically take about 5 days per wall, and the rest of the house carries on as normal.
Let's sort that cold room out.
Free, no-obligation quote. I'll come and look at the room, tell you honestly what's going on and give you a written quotation.
- TodayI read your message and call or WhatsApp you back.
- This weekA free home visit at a time that suits you.
- Within daysA clear written quote. No pressure, no chasing.

Wojtek, Retrofit AssessorUsually replies the same day
Tell me what's going on. It takes about a minute.
Get a free quote 07763 789272 Or send photos on WhatsApp